


Groundhog Max Foodplot Disc / Plow With Kit by Bad Dawg


- Brand
- Bad Dawg Accessories
- SKU
- 088-9050-00-SSS
- MPN
- 088-9050-00
The GroundHog MAX UTV Disc Plow makes preparing food plots a fun, one-person job.
The GroundHog MAX UTV Disc Plow fits most all Quads, UTVs, Wheelers, 4-Wheelers or Side-By-Sides (any power source that has a strong, well-braced 2-inch receiver). If you need a 2 Inch reciever, we sell them for all UTV's and Side by sides.
The GroundHog MAX mounts between the rear wheels and under the UTV's rear-end. It works by utilizing the weight of the vehicle (800 to 1200 lbs.) and drivers (200 lbs). There is no need to add extra weight.
With the GroundHog MAX, you can plow in oblong circles, figure eights, or straight for a variety of plowing options. It's easily done food plots with maximum functionality!
- Easy to get to your property (no trailer).
- Easy to manuver in tight spots.
- Easy on your machine.
- Easy on your wallet.
- Saves time, gas, and money.
Tech specs:
- Weighs only 46lbs but is made of ¼ wall steel.
- Fully Adjustable in 1” increments for non-aggressive to more-aggressive cut
- Discs are fully assembled on a ¾” round stress proof axle with a glove fit pipe separating the discs (so it is a closed type system no greasing).
- High strength 1060 grade Notched Discs blades are a graduated 8-9-10” setup
- High speed (double sealed, deep groove) ball bearings with trash guard…The discs have anti-slide bolts and nuts for easy bearing replacement. All bearings are the same size.
- 21” cutting width with a fixed 20-degree angle for an aggressive cut.
- No ratchets to mess with, no tires to dry rot and go flat, no hangers to assemble
- Plow is basically maintenance free. After use, wipe down spray off with wd40 or similar
Advantages of the Groundhog MAX VS. the Competition
- COST effective and it is a FUN and EASY one-man operation.
- Proven product sold since 2007 with replacement parts available 877-522-3364 and Tech support 770-713-0202 during normal business hours
- No assembly required: no bolts or nuts to work loose and fall off
- Half as wide as a pull behind plow but with twice the speed (5-7mph +).
Trailer not required! Transport with no hassle.
Easy to adjust how aggressive you plow by using 1 tractor pin and your hole selection.
- You do not need a large 400CC or larger liquid cooled unit (required by a pull behind type) to use the GroundHog MAX.
- The GroundHog MAX can be used on a larger variety of years/makes/models of UTVs. This is because you are able to plow with much smaller (250 cc and up) machines (Due to the ““concept” and smaller size of the GroundHog MAX). You are also plowing fast enough that air-cooled only machines can work. You and the machine stay cooler!
- The very expensive “do it all in one pass plows” must be pulled with an even larger/stronger unit, meaning that your food-plot needs to be very accessible for you to get the plow there on a big trailer. Level ground and great soil conditions are also necessary to use these larger plows, further restricting your land use.
- The GroundHog MAX is less stress on any machine. And because UTVs were not designed to pull heavy weight at low speeds in loose dirt without running hot, the GroundHog MAX is the ideal tool for this machine type.
- Both 2 and 4-wheel drive machines can utilize the GroundHog MAX. Independent/straight axles/chain drives all work for this plow. So, most owners of a good power source, like zero turn mowers, lawn tractors, Argos, jeeps, and small trucks with a DIY hitch, can use this plow.
- Imagine the possibilities of being able to put a food-plot anywhere you can take an UTV! You can get there at the speed of your UTV too. The GroundHog MAX is a great solution for people putting in food plots multiple times a year.
Downward Pressure is the Key.
The GroundHog MAX works by using the weight of the UTV and the driver. This achieves direct down pressure on the plow. The plow is setup of an inner 10-9-8 inch notched disc with high speed bearings. This allows you to cut hard ground, grass, and ground clutter with ease.
The Plow is Sold Two Different Ways.
It comes fully assembled either way. Replacement parts are available. The GroundHog MAX works on both independent or straight axle set-ups. It also works on two wheel drive models, but may not be as aggressive. Depending on the ground clearance you need you can adjust the plow in 1-inch increments.
The plow will fit most UTVs, 4-wheelers, Quads, Wheelers, Side-By-Sides, and UTVs. For more detailed information see the GroundHog MAX Owner's Manual and Compatibility/Hitch Options.
IMPORTANT INFO ON HOW TO USE Ground Hog Food Plot Disc
GETTING STARTED, ATTACHING, OPERATING, ADJUSTING, MAINTAINING, AND HITCH INFO
A. Back your rear tires up on a piece of 4 x 4 wood that spans the 2 rear tires. Put in park and lock your brakes. This allows you to do your adjustments. It is necessary to use 4” as it makes it easier to correctly gauge your up/down hole setting (axle measures 4” to the ground).
B. Slide the (T-head) into your UTV receiver and insert the first tractor pin. Note: this T-head can be turned “right side up” for machines with higher ground clearance or “up-side down” for machines with lower ground clearance.
C. Pull the second tractor pin out of the T-head and let disc assembly slide down to the ground. Pick up the disc assembly until it slides “upwards 2 holes” then re-install the second tractor pin. Your discs are now suspended an inch or two off the ground (This is a good starting point). Only one tractor pin is needed in the T-head for locking the up/down adjustment in place. Once you back off the blocks, weight is transferred to the discs. DO NOT attempt to just “lift up the rear” this only stretch’s out your rear suspension and doesn’t work.
D. Start off less aggressively, do not use too much weight because a lot of the cut is in turns and maneuverability no matter what machine you use. Normally you can find an adjustment hole that allows enough weight on the plow for it to work but allows you to run in 2-wheel drive. Failure to do this can result in bending your hitch. Remember with less steel on the ground and much more weight, you get a better cut.
E. After some experimentation, you will determine which hole works best for your unit/setup. Normally the next time you use the plow you can use the same hole adjustment setting unless ground conditions have changed. Some customers prefer to set the adjustment hole to plow less aggressively in the beginning… plow your spot…then back up on the blocks again… let it down another hole and plow. Any way you decide to plow you will "gradually" plow your plot down about 3-4 inches. Remember your using an UTV not a tractor!
F. Consider your machines weight and how strong your hitch is: The height adjustment hole needed will vary according to your year, make, model, tires, etc. The “plows concept” is to utilize your weight plus that of your unit to put direct down pressure on the discs. An UTV (700+-) and your weight (200+-). A side-by-side/UTV’s weight is 1200 lbs. to 1500 lbs. (double an UTV) BE CAUTIOUS and select a height adjustment hole that ONLY uses part of your unit’s weight.
G. Proper hole adjustment allows you to have plenty of weight on the plow but leave enough weight on the rear wheels so you can plow only using 2-wheel drive (in most cases). This allows for easier steering because your front wheels are not pulling. This puts less stress on your hitch too.
H. Before starting to plow be sure the plow is facing in the right direction. There is a red indicator arrow displayed on the disc indicating direction. See picture V1 V2 in the G H manual.
I. Groundhog MAX plowing speeds range from 3-10 mph according to the food plot lay-out, size, and shape. Twice as fast as a Pull-Behind type plow! You never have to go to the trouble of adding/strapping on more weight or worrying about the plow tipping over as you do with “pull-behind plows”. Pull-behinds are slower and put a lot of stress on your machine. This can cause some units to overheat.
J. The time required to plow (new plot longer/existing plot quicker) will be determined by ground conditions (roots, rocks, types of grass, wet/dry, and ground clutter). The tougher the conditions the more passes you need to make. Plow in looping circles and figure eights, because a lot of the cut is in turning and maneuverability. Plowing straight works also.
K. Reverse…The plow can be backed up with the plow engaged (only use if necessary). It does not plow well in reverse (since the discs would face the wrong way). It also puts more pressure on your hitch.
L. Transport mode…due to how the rear of some machines are laid out (racks, mufflers, frame etc.) transport mode does not work on all machine hitches. But another easy option is to strap the 46 lbs. Groundhog MAX to the UTV front or back rack securely.
M. Discs…Sometimes do not spin freely/properly until after 5 minutes of use. There is some side-to-side play on each disc. Keep in mind that discs will not free spin like a bike wheel. There is a lot of left to right play on the plow where the axle assembly goes into the up/down adjustment tube. This is intentional and allows the plow to float/adjust to uneven terrain.
N. After 15 minutes of use do a visual check of the plow, discs, and the hitch attachment. The break-in stage can cause minimal loosening. Retighten hardware, as necessary. Occasionally re-check.
O. Maintenance - Discs do not require sharpening or greasing. Wipe off and spray down lightly with WD-40.
P. Storage - Safe proper storage will prevent disc and bearings from rusting and degrading for longer life.
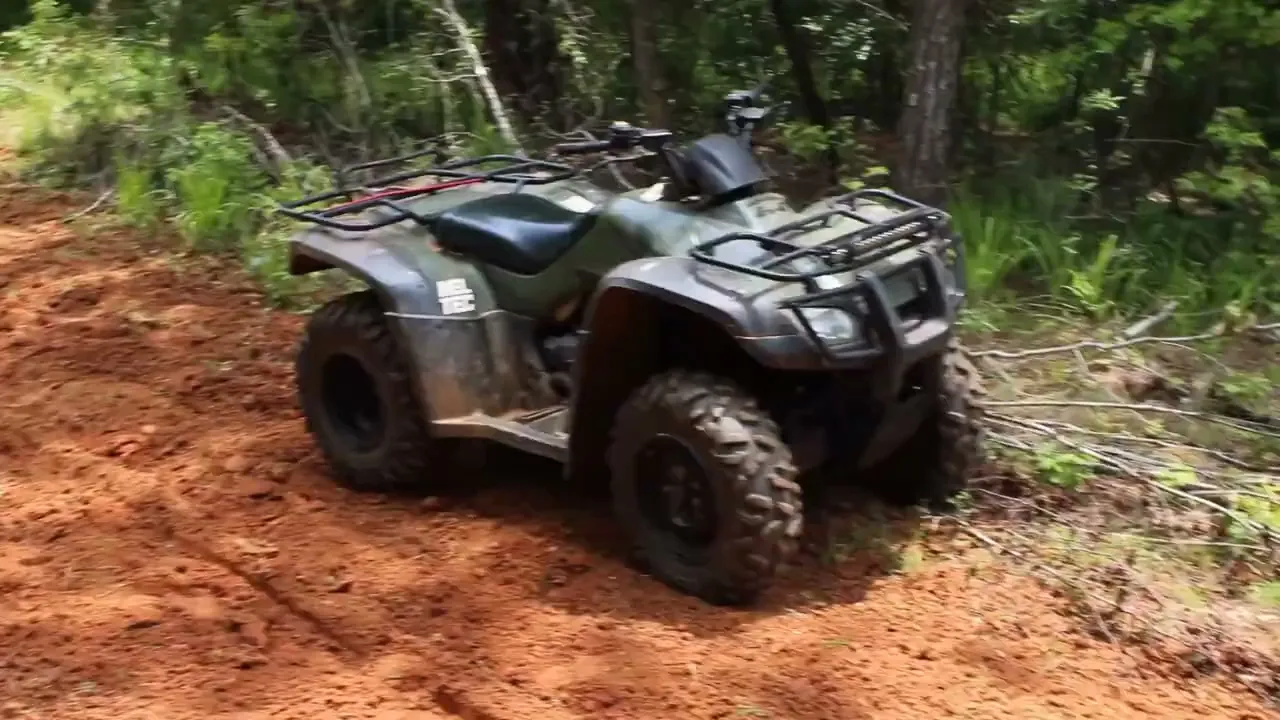
Groundhog MAX ATV/UTV plowing GA red clay
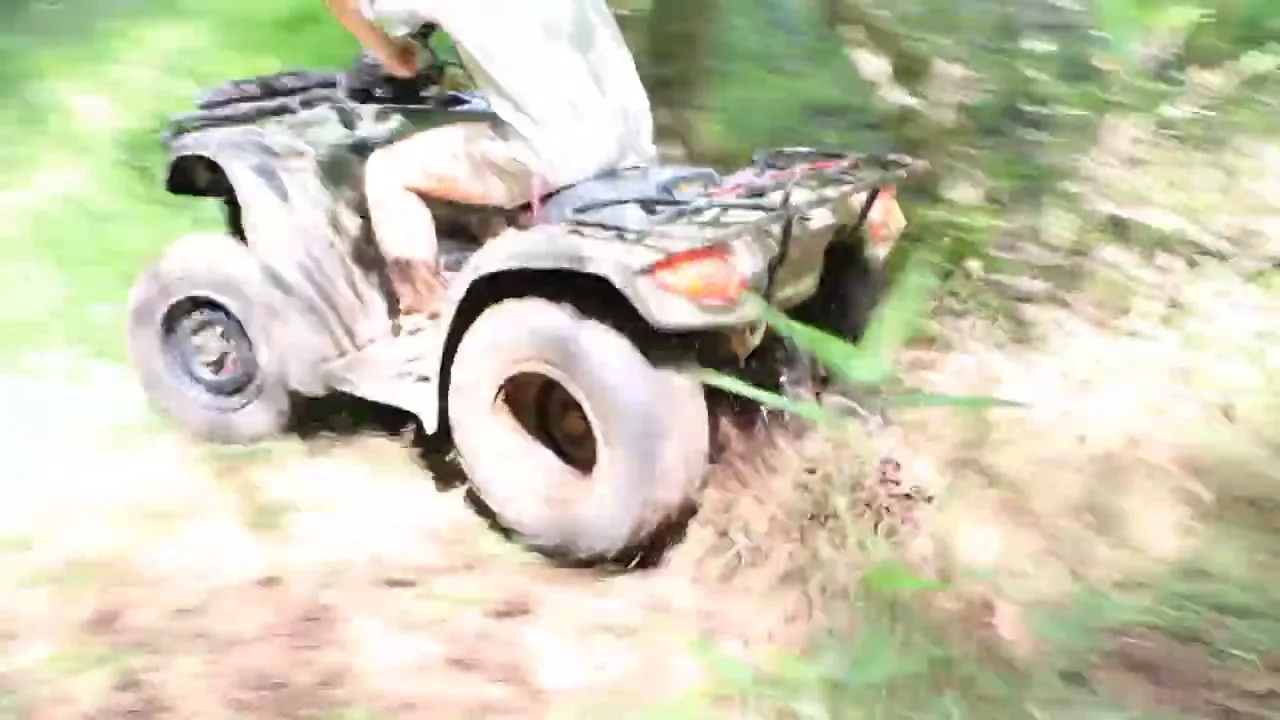
Groundhog MAX ATV/UTV plowing in grassy bottomland
Groundhog MAX ATV/UTV plow Guide to use & Hitch Tips
The Everything Advantage
SXS is all we do
No catch-all catalog, no guessing. If it's on this page, it was picked because it belongs on your machine.
Real SXS experts
Talk to someone who knows a Mule from a Gator. Fitment questions, install advice, straight answers.
Guaranteed fitment
Set your year and model once and we only show what bolts on. If it doesn't fit, we pay return shipping.
Most items ship in 24 hours
Ordered today, out the door tomorrow on the vast majority of parts, with deep in-stock inventory behind it.
Risk-free 90-day returns
Ride it, test it, be sure about it. Ninety days to send it back, backed by our 100% satisfaction guarantee.